Installing Hass.io
Hass.io images are available for all available Raspberry Pi and Intel NUC platforms.
- Download the appropriate image for your Raspberry Pi / Intel NUC:
- Flash the downloaded image to an SD card using Etcher.
- Optional - Setup the WiFi or static IP: On the SD-card, edit the
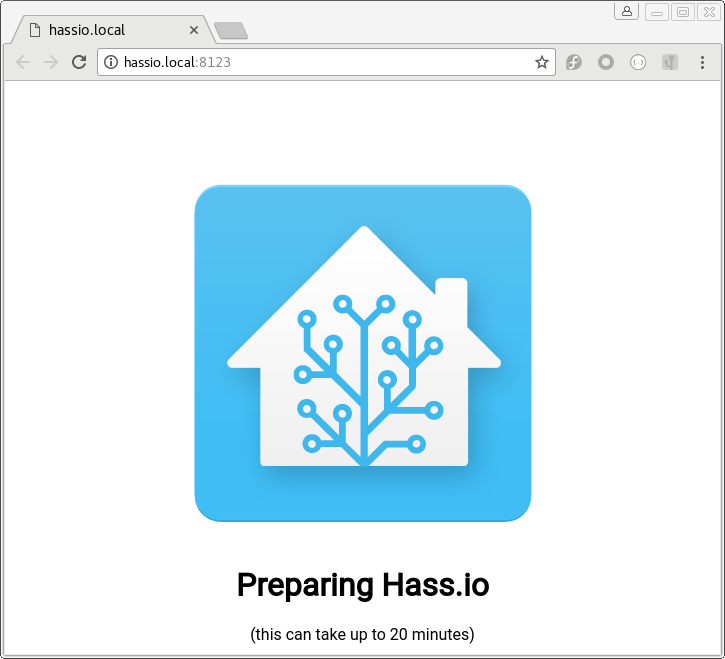
system-connections/resin-samplefile and follow the ResinOS howto. - Insert SD card to Raspberry Pi and turn it on. On first boot, it downloads the latest version of Home Assistant which takes ~20 minutes (slower/faster depending on the platform).

- You will be able to reach your installation at http://hassio.local:8123.
- Enable either the Samba add-on or the SSH add-on to manage your configuration in
/config/(From the UI choose Hass.io which is located in the sidebar).
Please remember to ensure you’re using an appropriate power supply with your Pi. Mobile chargers may not be suitable since some are designed to only provide the full power with that manufacturer’s handsets.
If you copy over your existing Home Assistant configuration, make sure to enable the Hass.io panel by adding either discovery: or hassio: to your configuration.
Alternative: install on generic Linux server
For advanced users, it is also possible to try Hass.io on your Linux server or inside a virtual machine. To do so, run the following command as root:
curl -sL https://raw.githubusercontent.com/home-assistant/hassio-build/master/install/hassio_install | bash -s
When you use this installation method, some add-ons will not be available, and the documentation might not work for your installation.
A detailed guide about running Hass.io as a virtual machine is available in the blog.